Multitool Maintenance: The Field Protocol for Cleaning, Lubrication, and Sharpening
A multitool that pulls pocket duty every day doesn’t get the same reverence as a production knife or a precision flashlight. People assume it’s built to handle neglect — and most are, for a while. But pocket lint compacted into pivot channels, moisture trapped in a leather sheath overnight, and a blade that’s been scraped across cardboard, zip ties, and hardware store screws for six months will eventually turn a $100 Leatherman Wave into something that fights you every time you try to open it. Maintenance isn’t a chore you do when things go wrong. It’s the protocol that keeps a $100 tool performing like a $150 one for years instead of seasons.
The good news: most of what your multitool needs is simple and inexpensive. The right oil, the right brush, and twenty minutes every few months is enough to stay well ahead of the damage.
What Actually Degrades Inside a Neglected Multitool
The failure modes in a neglected multitool are predictable. Pivot friction is the first thing you’ll notice — tools that once snapped open with one hand start requiring two, then start feeling gritty, then stop seating positively in their locked position. That’s dried lubricant mixed with metal dust and pocket debris caking the pivot channels. It doesn’t happen overnight, which is why it catches people off guard: the tool degrades incrementally until one day you’re fighting it instead of using it.
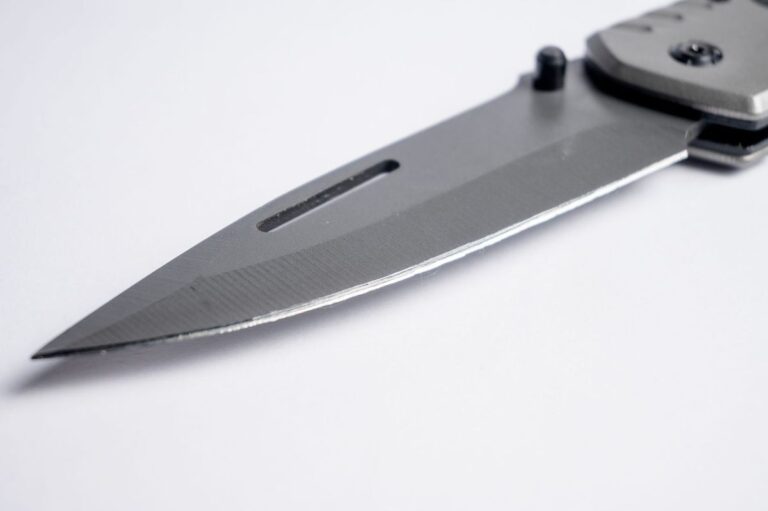
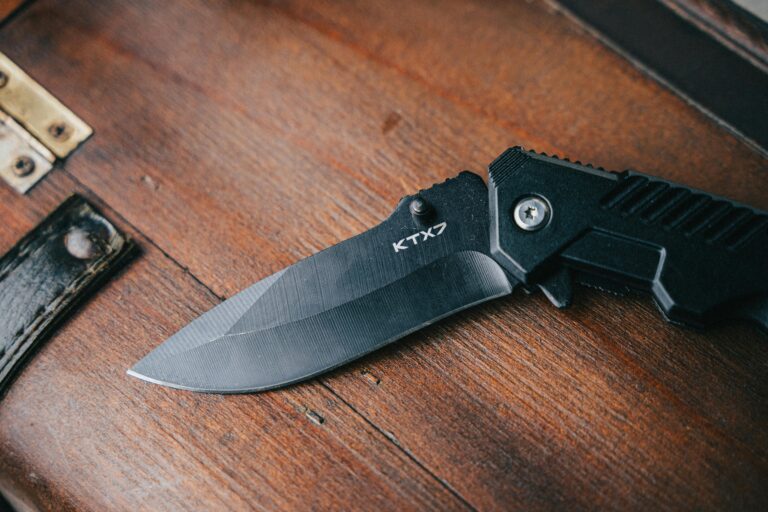
The blade goes next. Multitool blades are typically 420HC or 8Cr13MoV — softer steels that take an edge quickly but dull just as fast. Cardboard, tape, rope, plastic packaging: the everyday cuts multitools handle are surprisingly abrasive. Without touch-ups, the factory edge grinds down into a rounded shoulder that tears instead of cuts.
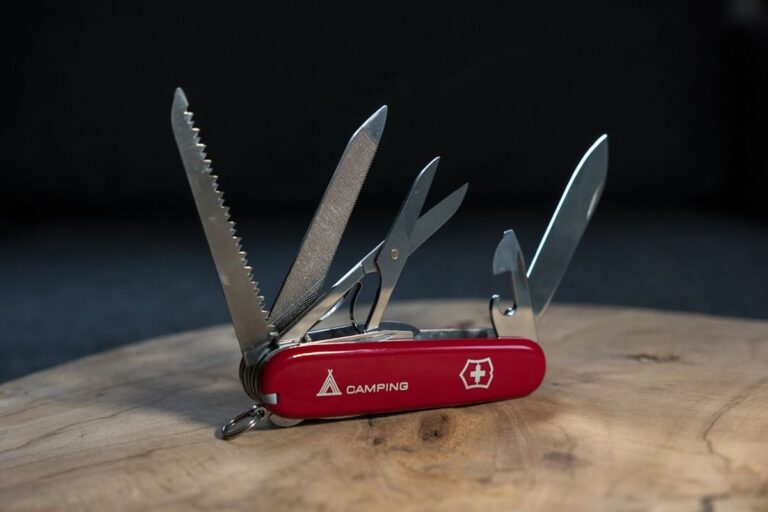
Moisture is the overlooked enemy. Stainless steel in the 420 family isn’t truly rust-proof in salt environments — leave a tool wet long enough and you’ll find orange staining on spring channels and bit driver rails. On Victorinox models with genuine wood inlays rather than synthetic scales, humidity causes the scales to swell and can pinch tools to the point of immobility. The tool looks fine from the outside and fights you on the inside.
The Kit You Actually Need
Before you start, gather these: a set of Torx bits in T6, T8, and T10 sizes — Leatherman uses T6 and T8 for handle screws and pivot pins on their plier-frame tools; a stiff-bristle nylon brush or a firm toothbrush; 90%+ isopropyl alcohol; Ballistol Multi-Purpose Oil or Sentry TUF-GLIDE; and a diamond or ceramic sharpening rod. That’s the full kit. Nothing exotic, nothing expensive.
Skip the ultrasonic cleaner unless you’re doing this professionally. Skip WD-40 entirely — it’s a water displacer that evaporates and leaves nothing behind to protect pivot surfaces. Using it feels productive and accomplishes almost nothing in terms of long-term lubrication.
Shop Ballistol Multi-Purpose Oil on Amazon
Disassembly — What Comes Apart and What Doesn’t
Not every multitool is designed for field disassembly, and knowing the difference saves frustration before you strip a screw or lose a spring.
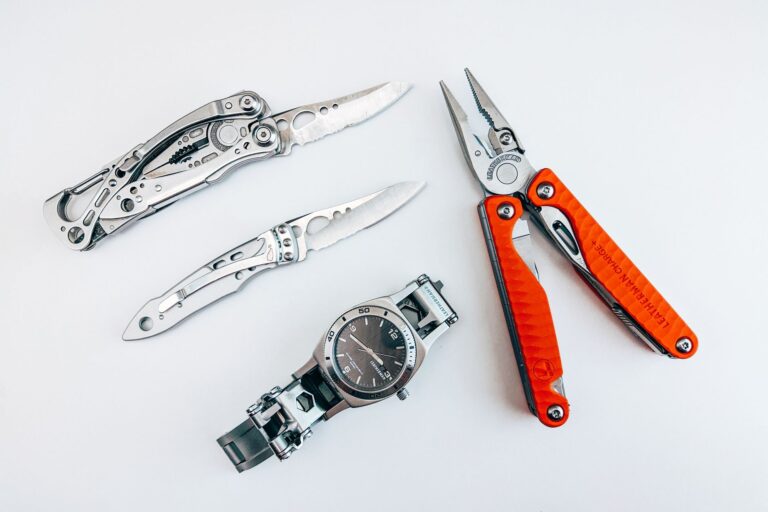
Leatherman’s plier-frame multitools — the Wave+, Surge, Rebar, Signal, and Charge TTi — are fully user-serviceable. The handle scales are held by T8 Torx screws; the tool pivots use T6. Remove the scales and you gain access to the entire tool stack, the spring channels, and the pivot faces. You can clean everything properly and re-oil in place. Leatherman’s support documentation describes this process, and replacement pivot screws are available direct from the company if you ever strip one.
Victorinox SwissTool models are partially serviceable — the outer scales unscrew, exposing the frame. But the tool stack on most SwissTool variants is riveted, so you’re limited to cleaning what you can reach through the open tools. The Spirit X and Spirit XBS are exceptions: their screw-pinned construction allows complete disassembly, and if full serviceability matters to you, they’re the versions worth seeking out specifically for that reason.
SOG PowerAssist tools use a cam-assist mechanism with intentionally tensioned compound pivot screws. Over-loosening them lets the cam assembly drift out of alignment, and reassembly is significantly harder than it should be. For cam-assist designs, clean from the outside and leave the internal pivots alone unless you’re prepared for a mechanical puzzle with small spring-loaded parts and no service manual.
The Cleaning Protocol
Start Dry
Open every tool to approximately 90 degrees so the pivot channels are exposed. Work a stiff brush through each channel, moving debris out toward the frame ends rather than pushing it deeper into the tool. A can of electronics duster — compressed air — blows out what the brush loosens. Cotton swabs reach the tight corners at the base of each pivot where tools seat into the frame and debris packs hardest.
Lint is the primary villain in a jeans-carry multitool. Blue denim lint packs into spring channels and bit holders and acts like a dry abrasive once it mixes with old lubricant. Pay particular attention to the bit holder rails — whether clip-style or magnetic — since these see constant insertion friction and accumulate debris that gets overlooked in a quick wipe-down.
Wet Clean for Heavier Fouling
For a multitool that hasn’t seen attention in a year or more, a wet clean is warranted. Isopropyl alcohol at 90% or higher removes old oil, dried debris, and surface oxidation without leaving residue. Wipe all accessible surfaces with an alcohol-dampened cloth, work the bristle brush through pivot channels with alcohol applied, and let it evaporate completely before proceeding.
For very heavy fouling, Ballistol diluted 1:10 with water works as both a cleaner and a passivating rinse — it leaves a thin protective film as it dries. After any wet clean, dry completely. Compressed air followed by fifteen minutes of open-air drying ensures no moisture is trapped in the channels before lubrication. Oiling a damp tool traps water against steel and accelerates exactly the corrosion you’re trying to prevent.
Lubrication: Where the Real Performance Difference Lives
This is where most maintenance guides go wrong — they either recommend WD-40 or just say “oil it” without specifying what or where. The lubricant choice and placement matter more than most people realize, and using the wrong product is almost as bad as using nothing.
Ballistol Multi-Purpose Oil is the workhorse pick. It’s slightly alkaline, which helps neutralize acidic sweat residue that accumulates on any tool you handle daily. It penetrates into tight tolerances without gumming up over time. It’s safe on wood, bone, and synthetic scales alike. Apply a single drop at each pivot point, work the tool through its full range of motion five to ten times to distribute it, then wipe off the excess. Don’t flood the channels — excess oil migrates onto blade edges and handle surfaces and picks up lint that defeats the purpose.
Sentry TUF-GLIDE in the pen applicator is the better choice if you carry in dirty environments or find that wet oil attracts debris between maintenance cycles. It’s a dry-film lubricant that doesn’t attract lint after it sets. The pen gives precise placement at pivot faces and spring channels. It dries in a few minutes, and the tool operates smoothly with no wet or slippery feel on the handles — a meaningful advantage when you’re gripping pliers under load.
For the bit holder — whether clip-rail, magnetic socket, or ratchet receiver — a very light pass of a thin oil like Rem Oil keeps clip tension right without building gunk that makes bit insertion sticky. This component sees more in-and-out friction than any pivot on the tool and is consistently the last thing people remember to address.
Where not to lubricate: blade edges before sharpening (oil on the bevel creates inconsistent stone contact and affects your angle feel), and locking mechanism faces on blade-lock designs where oil can cause the lock to engage inconsistently under pressure.
Sharpening the Blade Without Ruining the Edge Geometry
Multitool blades range from 420HC on budget and mid-range tools to S30V on the Leatherman Charge TTi and D2 on select SOG models. The steel determines how you sharpen and what to realistically expect from the result.
420HC and 8Cr13MoV are soft — typically 56–58 HRC. A Spyderco Sharpmaker with medium triangular ceramic rods will bring either back from dull to sharp in ten to fifteen strokes per side. These steels don’t hold an edge for long, but they sharpen fast. A touch-up every six to eight weeks is realistic for daily carry and keeps the blade always usable. The Sharpmaker’s fixed 15 and 20-degree angle slots remove the guesswork from freehand sharpening, which matters for a blade as short as most multitool profiles.
S30V on the Charge TTi sits around 59–61 HRC and resists ceramic rods more than the softer steels. A diamond rod — DMT’s D3 or similar — is more efficient here and won’t load up the way a ceramic will on harder steel. S30V holds an edge significantly longer than 420HC but requires more focused work to restore once it degrades past the touch-up threshold. Treat a Charge TTi blade the same way you’d treat a well-made folder: deliberate sessions on a proper sharpener, not quick passes on whatever’s nearby.
Factory edge angles on production multitools run 20–25 degrees per side. Maintain that angle — don’t regrind to something more acute on a soft steel. A thin, acute edge on 420HC rolls on the first wire or screw shaft you touch. A properly maintained factory angle that’s been touched up consistently will outcut a reprofiled edge that’s been chipped by hard use it wasn’t designed for.
Shop Spyderco Sharpmaker on Amazon
Plier Jaw and Main Pivot Care
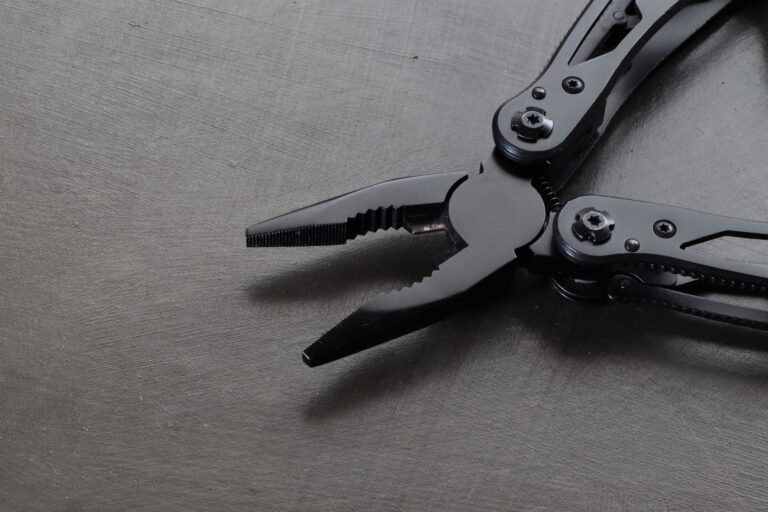
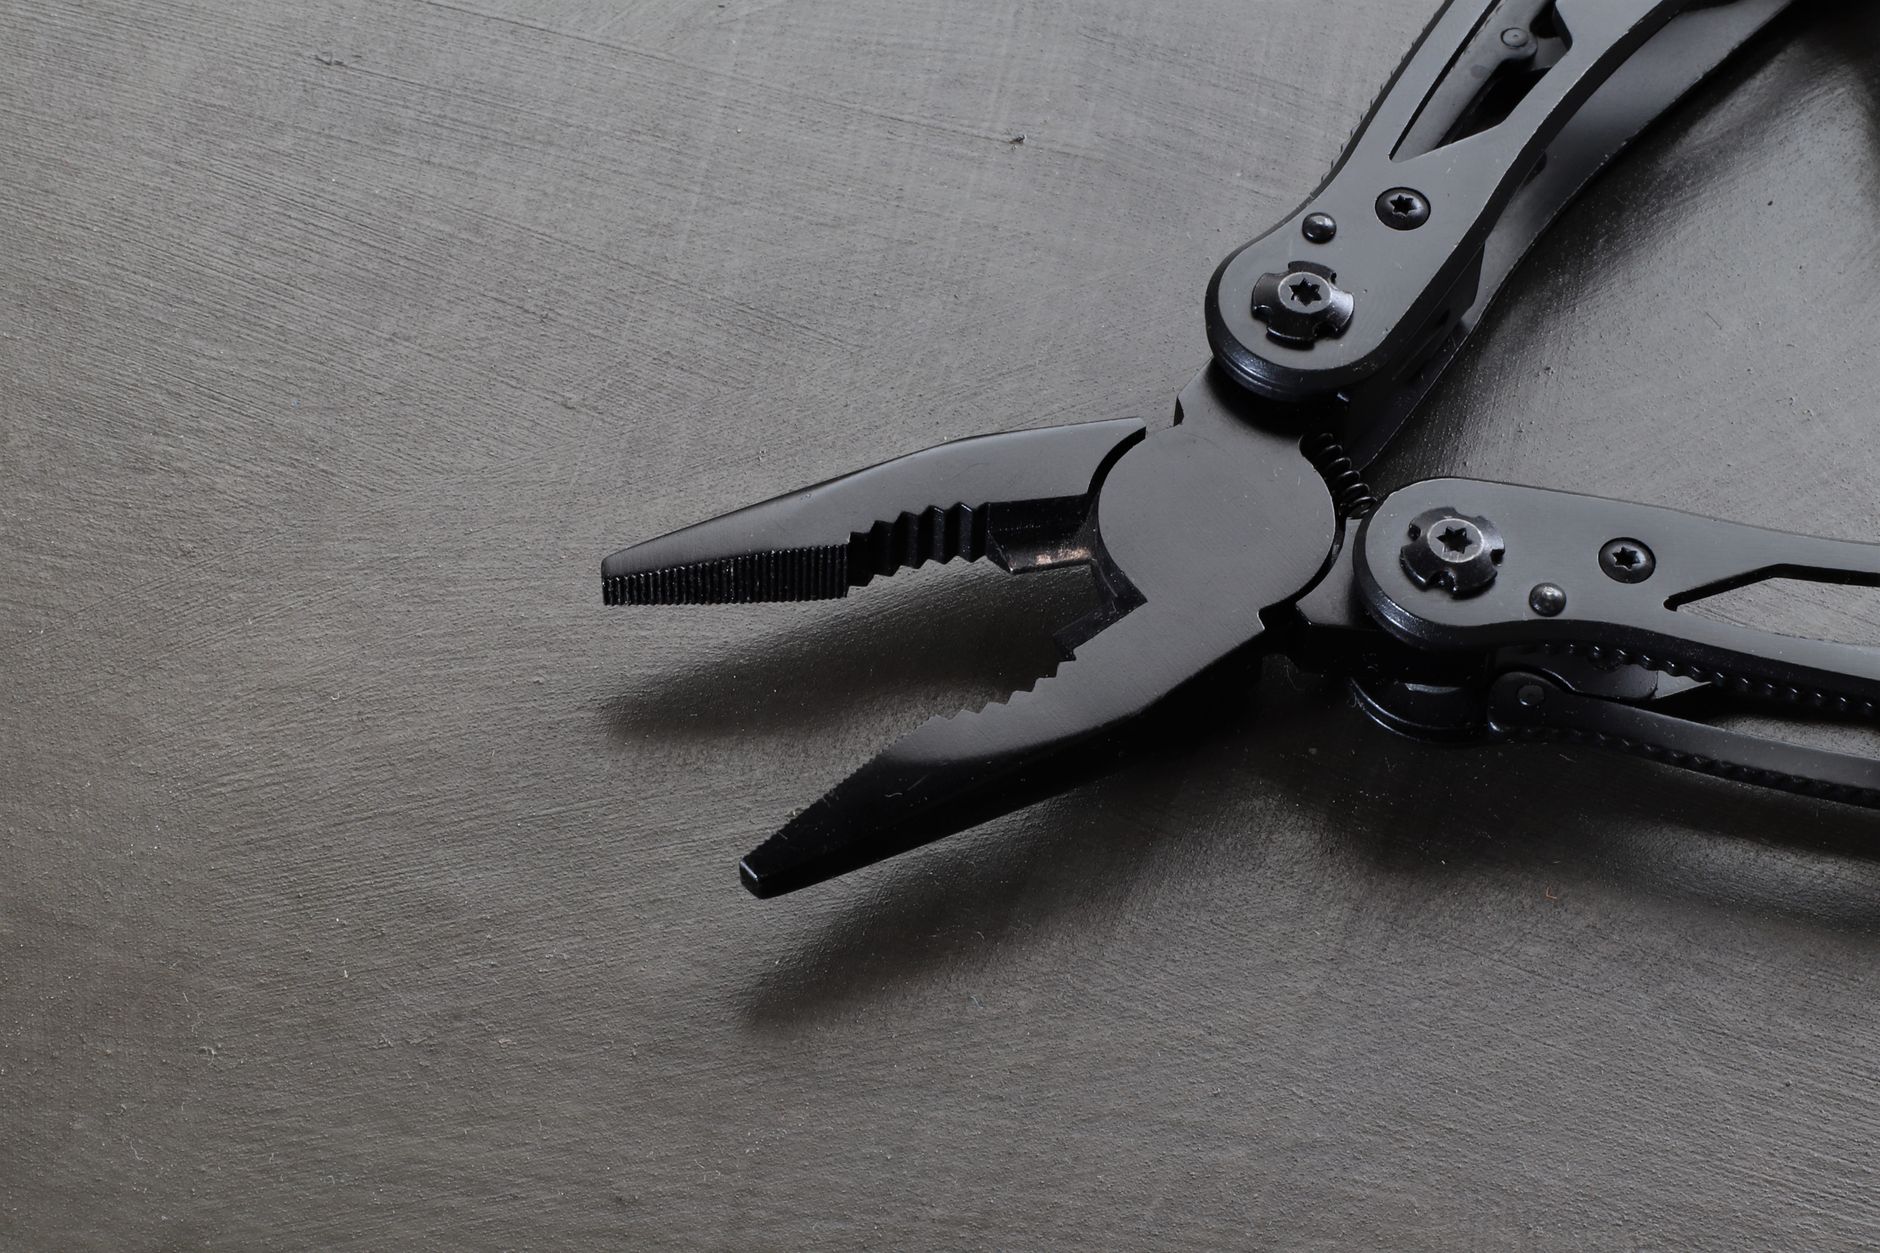
The plier head is the reason most people buy a multitool in the first place. Grit in the jaw pivot tracks creates a grinding sensation when the handles swing into the plier head, and this area gets overlooked in most quick-clean sessions because it seems mechanical rather than precision. It’s both.
Use the stiff brush specifically on the jaw pivot tracks and wipe them down before lubricating. Inspect the needle-nose jaw faces for burrs — these develop from cutting wire and gripping hardened fasteners. A fine-cut needle file can dress minor burrs without affecting jaw alignment. If the jaw faces no longer meet flush — this typically happens after a hard drop on concrete — alignment is a warranty claim, not a home repair. Trying to press them back into alignment yourself risks cracking the jaw at the weld point.
Apply lubricant at the main pivot — where the two frame halves hinge into the plier head — and work it through fifty open-close cycles to distribute it properly. This pivot takes more mechanical load than any other point in the tool. It’s the last one most people think to oil and the one that rewards attention most noticeably.
Rust Prevention and Long-Term Storage
Stainless steel in the 420 family is corrosion-resistant, not corrosion-proof. Salt water, sweat, and blood accelerate oxidation faster than most people expect on what they assume is a stainless tool. A post-use wipe with a Ballistol-dampened cloth creates a thin passivating film that holds off surface rust between cleaning cycles. If you work near salt water or in consistently high humidity, make this a habit after any heavy-use session — not just a scheduled monthly ritual.
If you’re storing a multitool for more than a few weeks — a backup in a bag, a field kit that doesn’t come out often — give it a full clean-and-lube cycle before storage and leave it lightly oiled going in. A bare, clean tool stored long-term in a closed case will develop a surface haze that requires work to remove.
Sheath material matters more than most people consider. Leather sheaths trap moisture against bare steel. If your multitool shipped with a leather belt pouch and you live somewhere humid or sweat heavily, switch to the nylon or Kydex options that Leatherman and aftermarket makers sell separately. Ventilation keeps things drier, and trapped moisture is exactly how you find rust on a tool that felt clean when you put it away.
Shop Leatherman Bit Kit on Amazon
When to Send It In
Some problems exceed what maintenance can fix. A chipped blade tip from prying, a broken tool within the stack, a locking mechanism that no longer seats — these are warranty jobs, not home repairs. Trying to grind a chipped tip back costs you blade length and changes the geometry of what you carry. Use the warranty.
Leatherman’s 25-year guarantee covers defects and performance failures on their plier-frame tools. Submit the claim online with the issue documented; turnaround is typically two to four weeks. Victorinox carries a lifetime guarantee against manufacturing defects for their Swiss Army line. SOG offers a limited lifetime warranty that tends to be more variable in practice — document the failure mode clearly and include photos when you submit.
Consistent maintenance extends the window before you need to invoke the warranty. But the warranty exists for a reason — a $100 tool with 25 years of coverage behind it is a fundamentally different proposition from one with a one-year policy, and using it when you need it is part of what you paid for when you bought the tool.
Sources
- Leatherman — Warranty and Product Care
- Victorinox — Swiss Tool Product Information
- Spyderco — Sharpening Systems
- Ballistol — Multi-Purpose Oil